Import rates for a clause or term
When working with large fee schedules, or when working with certain calculation bases, manually entering rates may not be feasible or allowed. In such situations, you can import the fee schedule or rates table from an Excel file.
IMPORTANT: If you are also importing translation tables, you need to import those before you import rates, or else the rates will not load.
IMPORTANT: There are many types of rate files (DRG, Line Item Code, Rev Code, etc.). When importing rates, make sure the rate file you upload matches the specific type of calculation basis used by the clause or term. For example, if the clause or term uses CMS DRG, then a DRG rate file that has a dollar rate would use these options: Calc Basis = DRG; Calc Type = Dolar Rate; Calc Measure = Per Claim.
When importing rates, you first upload the rate file to the server, and then you attach it to the contract.
To import the rates:
- In the Rates column of the clause/term row, click the Edit icon (
 ).
). - In the Edit Rates dialog, click the Files tab.
-
On the left side of the dialog, under the listed calculation basis for the clause/term, the Rates folder should be selected as the rates file destination. If it is not, select it.
-
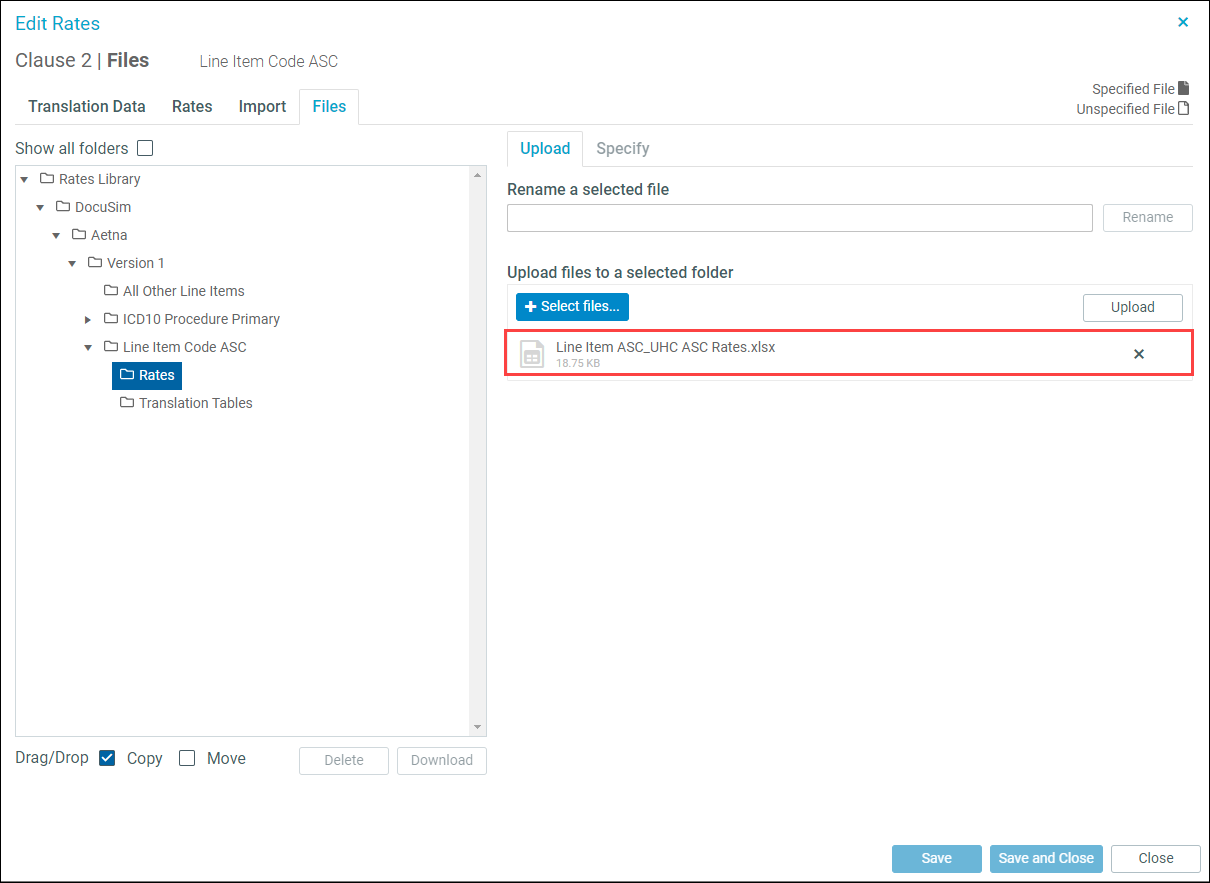
On the right side of the dialog, in the Upload files to a selected folder area, do one of the following:
- Drag and drop the rates file.
- Click Select files and then select a rates file. The file name displays below the Select Files button as shown in the following example:
-
Click Upload. The uploaded file displays on the left under the destination folder, as shown in the following example:

-
Select the uploaded file. The file name also displays in the Rename a selected file field in case you want to rename it.
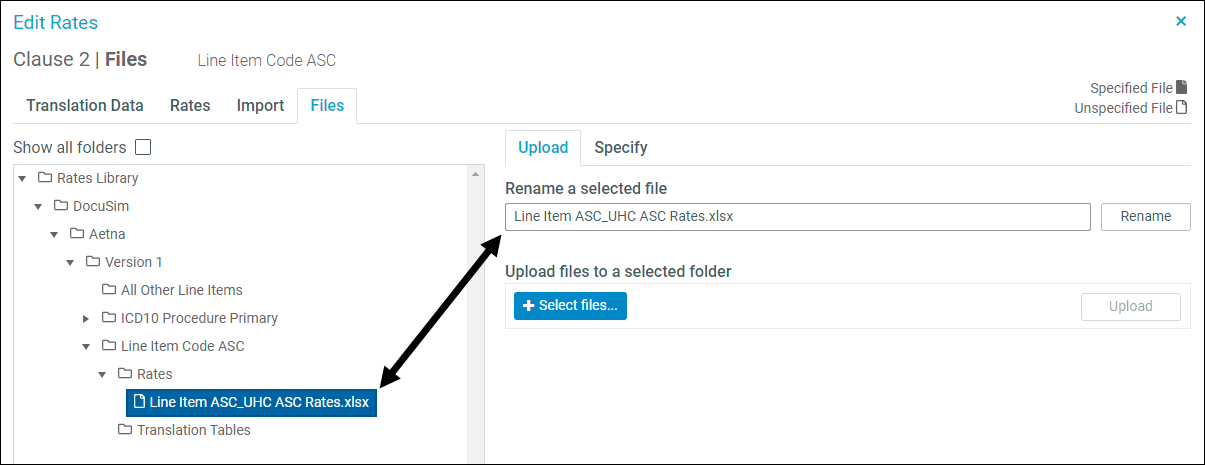
- (Optional) To rename, the file, on the right side of the dialog, the file name displays in the Rename a selected file field. If desired, rename the file and then click Rename.
-
On the right side of the dialog, click the Specify tab. The top part of the tab displays an image corresponding to the data in the uploaded file.
-
On the lower right of the dialog, in the Excel Column, for each row in the Rates Column, select from the drop-down the letter that corresponds to the column in the image above. In the following example, Code corresponds to column A in the Rates file. Do this for each field in the Rates Column that needs to be mapped.
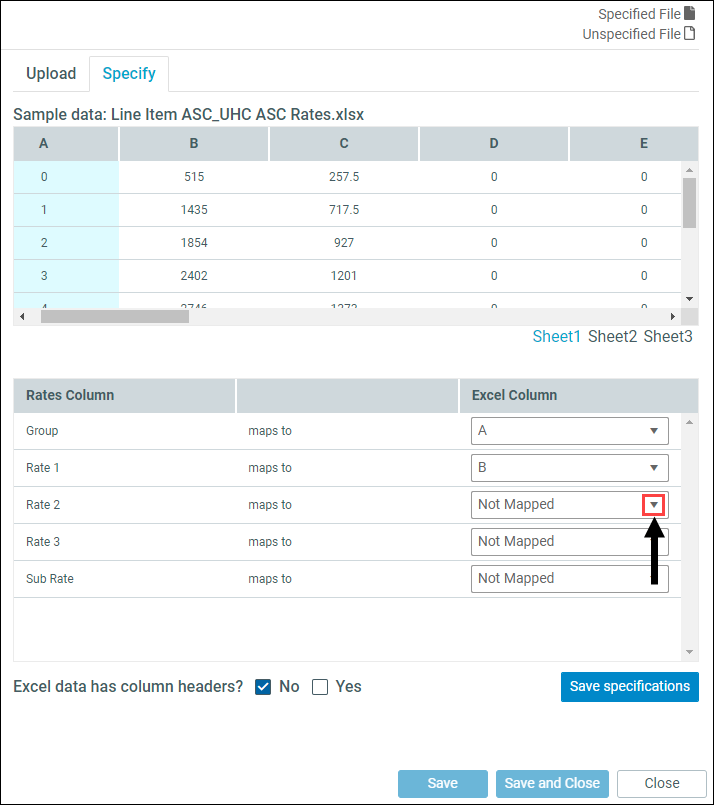
- For Excel data has column headers?, select the appropriate option if not already selected.
- Click Save specifications.
-
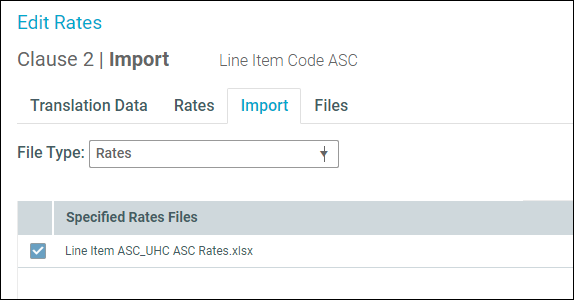
Click the Import tab.
-
If needed, from the File Type drop-down, select Rates.
The file you uploaded displays under Specified Rates Files.
-
On the right side of the dialog, click Attach. When the file is attached, the check box displays checked:
-
To view the imported rates, click the Rates tab.
- Close the Edit Rates dialog.
